Curve Resin Mouldings
Back to guidesIt is quite simple to bend resin moulding around – or into – a curve on a dolls’ house. To illustrate the technique I have used a small piece of plastic tube around which I’ve formed my moulding.
There are two ways this can be done: directly onto the dolls’ house or separately, working on a bench.
BEWARE - TO BEND RESIN IT NEEDS TO BE HEATED, SO PLEASE BE CAREFUL
To heat the thick mouldings use a hot air gun (the type used to strip paint) or a hair dryer for thin mouldings.
Most of our mouldings can be bent, but our two largest ones are prone to distorting or splitting if bent around a curve that is too sharp.
Bending a moulding working away from the dolls’ house
If it is not practical to bend the moulding in situ then a pattern will have to be made to bend the moulding around.
Step 1 - Replicating the shape to be bent around:
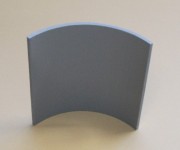
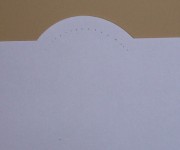
Cut slots in a piece of paper (Pic 1) then place the paper against the feature around which you’ll be bending the moulding. The slots that have been cut will allow the paper to follow the curve.
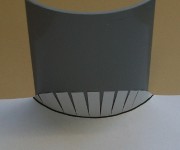
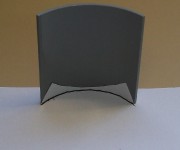
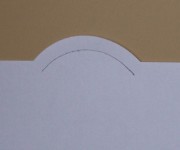
With a fingernail, make a crease in the paper following the profile of the shape. Carefully draw a pencil line in the crease (Pic 2 shows convex curve, Pic 3 shows a concave curve).
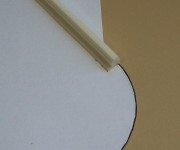
If the shape is concave then the thickness of the moulding must be allowed for. Using the moulding, make a series of dots on the paper template to create another curved line showing the thickness of the moulding (Pics 4 & 5). Once the dots are joined, this is the line to cut to for the concave pattern (Pics 6)
With a sharp scalpel or craft knife, cut accurately along the pencil line.
Step 2 – Making the pattern:
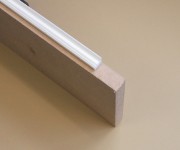
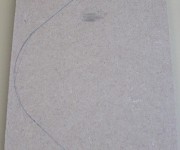
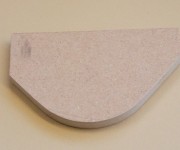
With a piece of MDF that is thicker than the moulding (Pic 7) place the paper template onto the MDF and draw around the curve. Draw straight lines which extend further than the curve on each side (Pic 8 ). These straight areas allow the moulding to be held in place without burning the fingers.
Step 3:
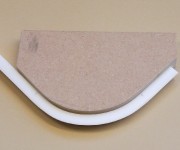
Cut out the shape that has been drawn on the MDF and accurately sand the edges smooth to the pencil line (Pic 9). This is the pattern that the moulding will be bent around. Securely fix the pattern to the bench – good double-sided tape will do. The pattern should not move while bending the moulding.
Step 4:
Cut a length of moulding longer than is required to go around the curve on the pattern, so your hands will be clear of the heated section.
Step 5:
Using the hot air gun, gently heat the centre of the moulding. Heat from all sides, making sure you distribute the heat evenly. Avoid heating one area for too long or leaving cold spots.
Step 6:
Once the moulding has become flexible, carefully bend the moulding around the pattern. At this point be careful not to twist the moulding: keep the moulding flat and make sure that it has taken the shape without gaps between it and the pattern (Pic 10).
Step 7:
Hold the moulding in place using the excess, until it has cooled down. DO NOT BE TEMPTED TO TOUCH THE HEATED AREA.
How long it takes to cool will depend on the levels to which it was heated initially. On average it will take about 2 minutes. If it is removed too soon it will straighten a little and will not fit back without exerting pressure. You need to avoid this as it will put the fixing under stress. This will mean that it’s difficult to glue in place or, worse still, at some time in the future the stress will break the fixing and the moulding will fall off.
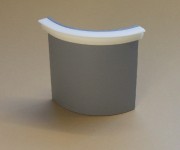
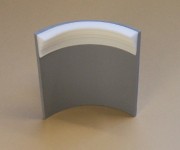
Now leave the moulding to cool off completely before testing the fit in situ. Once cooled, and you’re happy with the fit, cut to the correct length (Pics 11 & 12). If this curved section is part of a longer run of moulding then an angle will have to be cut on each end. For further information on how to do this, see our step-by-step guide ‘Fit a moulding into a bay window’.
Now the moulding is ready to be painted. Spray the moulding with white car primer as a base coat then finish in the medium of your choice.
If it is possible to bend the moulding directly around or into the feature in the dolls’ house then proceed from step 4 using the dolls’ house as the pattern.

